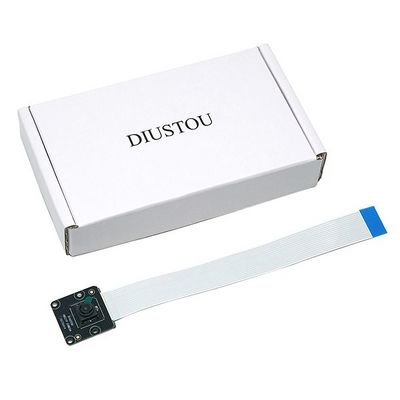
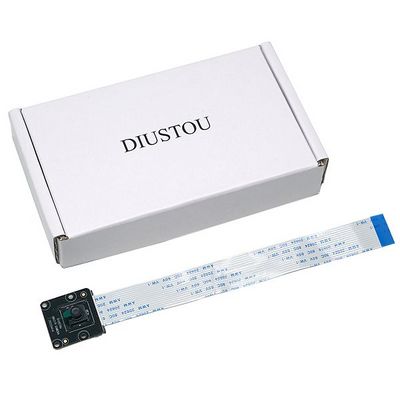
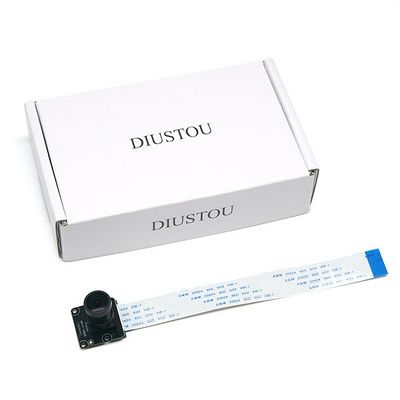
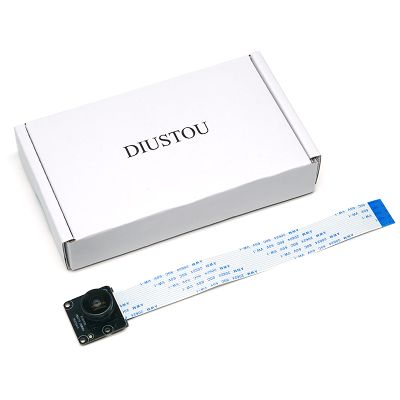
IMX219 Camera
| ||||||||||||||||||||||
| ||||||||||||||||||||||
| ||||||||||||||||||||||
Contents
Product Parameters
- Pixels: 8 million pixels
- Image sensor: IMX219
- Resolution: 3264 x 2464
- CMOS size: 1/4 inch
- Field of view (FOV): 77°/120°/160°/220°
- Focal length:
- 77°: 2.85mm ±5%
- 120°: 1.79mm ±5%
- 160°: 1.05mm ±5%
- 220°: 2.16mm ±5%
- Infrared function: No infrared
User Guide
Jetson Nano
Camera Testing
- Hardware Connection
- The CSI camera interface on the Jetson Nano development kit is located next to the metal heatsink. Before installing the camera, you need to lift the latch on the CSI interface. Be careful not to break the latch during the operation.
- Insert the camera ribbon cable with the metal side facing the heatsink into the camera interface on the kit. After confirming it is fully inserted, secure the latch.
Note: The camera test image is output to an HDMI or DP screen, so Jetson Nano needs to be connected to a screen when testing the camera.
- Start Jetson Nano
- Test the Camera
Open the terminal and enter the command to test the camera
DISPLAY=:0.0 nvgstcapture-1.0
Alternatively, you can enter the command
Nvgstcapture
- If the camera's captured image appears reddish, perform the following steps
wget http://www.waveshare.net/w/upload/e/eb/Camera_overrides.tar.gz
tar zxvf Camera_overrides.tar.gz
sudo cp camera_overrides.isp /var/nvidia/nvcam/settings/
Install the file
sudo chmod 664 /var/nvidia/nvcam/settings/camera_overrides.isp
sudo chown root:root /var/nvidia/nvcam/settings/camera_overrides.isp
Checking the Camera
- After installing the camera, you can use the following command to check if the camera is working properly and if the development board has detected the camera(s) and their number:
s /dev/video*
- You can use v4l2-utils to further check the number and specifications of the cameras.
Install v4l2-utils
sudo apt install v4l-utils
List detailed information about detected cameras
v4l2-ctl --list-devices
When multiple cameras are connected, you can use this command to determine which number corresponds to which camera.
Check the specification parameters of the camera
v4l2-ctl --device=/dev/video0 --list-formats-ext
You can change "video0" to the specific camera you want to query.
Using OpenCV to Access the Camera
- If you want to use the OpenCV library to access the camera, you can refer to the following articles in the #NVIDIA Getting Started Guide:
- Jetson Nano 2GB Series Article (7): Accessing CSI/USB Cameras with OpenCV
- Jetson Nano 2GB Series Article (43): Installing and Testing a CSI Camera
- You can also refer to the official Jetcam program. Official Jetcam Examples
Raspberry Pi
- Starting from the Bullseye version, the underlying Raspberry Pi driver in the Raspberry Pi image has switched from Raspicam to libcamera. libcamera is an open-source software stack that facilitates third-party porting and the development of custom camera drivers. As of December 20, 2021, libcamera still has many bugs, and the current version does not support Python. This IMX219 camera module currently only supports the Bullseye system and is called using libcamera commands.
- For more camera setup instructions, please refer to the official documentation.
Testing the Camera
- Before using the camera, you need to configure the config.txt file.
Open the config.txt file
sudo nano /boot/config.txt
Find
camera-auto-detect=1
Change to
camera-auto-detect=0
Also, add the following line at the end of the file:
dtoverlay=imx219
Press ctrl+o to save; press Enter to confirm the changes; press ctrl+x to close the file.
- Open the Raspberry Pi terminal and start the camera preview.
sudo libcamera-hello -t 0
If you want to close the preview window, you can press Alt-F4 or click the 'x' to close it. Alternatively, you can return to the terminal and use ctrl-c to terminate the program. If you encounter an error after entering the above command, try restarting the Raspberry Pi after making the changes and then perform the operation again.
- If you want to capture an image, you can execute the command:
libcamera-jpeg -o test.jpg
libcamera-hello
- This is a simple "hello world" program used to preview the camera and display the camera feed on the screen.
- To preview the camera in real-time, execute the following command in the terminal:
libcamera-hello -t 0
- Where -t 0 indicates continuous preview until the program is terminated. Users can adjust this according to their needs.
libcamera-jpeg
- This is a simple program for capturing still images. Unlike the more complex functionalities of libcamera-still, libcamera-jpeg has cleaner code and offers many similar features for capturing images.
- Executing the following command in the terminal will display a preview for about 5 seconds and then capture a full-resolution JPEG image:
libcamera-jpeg -o test.jpg
- Where test.jpg represents the filename.
- Users can set the preview time using the -t parameter and adjust the resolution of the captured image using --width and --height. For example:
libcamera-jpeg -o test.jpg -t 2000 --width 640 --height 480
- All libcamera commands allow users to set the shutter time and gain. For example:
libcamera-jpeg -o test.jpg -t 2000 --shutter 20000 --gain 1.5
- Where --shutter 20000 represents an exposure time of 20ms, and --gain 1.5 sets the camera gain to 1.5x.
libcamera-still
- libcamera-still is very similar to libcamera-jpeg, except that libcamera-still inherits more functionalities from raspistill.
- To take a photo, execute the following command in the terminal:
libcamera-still -o test.jpg
- Where test.jpg represents the filename.
- libcamera-still supports different image file formats, including PNG and BMP encoding. It also supports saving raw RGB or YUV pixel data directly to a file without any encoding or image format. When saving RGB or YUV data directly, the program reading such files must understand the pixel arrangement.
libcamera-still -e png -o test.png
libcamera-still -e bmp -o test.bmp
libcamera-still -e rgb -o test.data
libcamera-still -e yuv420 -o test.data
- The image format is controlled by the -e parameter. If the -e parameter is not used, the format is determined by the file extension of the output filename.
libcamera-vid
- libcamera-vid is a video recording program that uses the Raspberry Pi's hardware H.264 encoder by default. When this program runs, it displays a preview window on the screen and encodes the bitstream output to the specified file.
- To record a video, execute the following command in the terminal:
libcamera-vid -t 10000 -o test.h264
- Where -t 10000 indicates recording a 10-second video, and test.h264 represents the filename.
- To view the video, you can use VLC for playback:
vlc test.h264
libcamera-raw
- libcamera-raw is similar to a video recording program, but the difference is that libcamera-raw records raw Bayer format data directly from the sensor, which is the raw image data. libcamera-raw does not display a preview window.
- To record a 2-second segment of raw data, execute the following command in the terminal:
libcamera-raw -t 2000 -o test.raw
- The program dumps raw frames without format information. It prints the pixel format and image dimensions directly to the terminal, allowing users to view the pixel data based on the output. By default, the program saves raw frames to a file, which is usually quite large. Users can split the file using the --segment parameter.
libcamera-raw -t 2000 --segment 1 -o test%05d.raw


