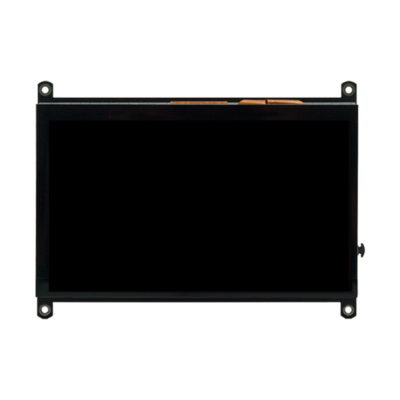
| Display (1024×600, 7inch, IPS, HD, C)
|
|
|
|
|
|
|
|
Description
|
|
|
| Features
|
- Screen size: 7 inches
- Physical resolution: 1024px × 600px
- Rated power: 0.62A * 5V
|
| Interfaces
|
HDMI
USB
|
|
|
|
|
|
Product Features
- 7-inch display with a hardware resolution of 1024×600, software configurable resolution up to 1920x1080
- IPS panel with vivid colors
- Equipped with a capacitive touchscreen, USB touch, driver-free
- Backlight switch included, allowing the backlight to be turned off independently
- Compatible with microcomputers such as Raspberry Pi, BB Black, and Banana Pi
- Can be used as a standard HDMI display for connecting to devices such as computers, TV boxes, Microsoft Xbox360, SONY PS4, Nintendo Switch, etc.
- Supports systems for Raspberry Pi: Raspbian, Ubuntu, Kodi, Win10 IOT, with single-point touch, driver-free
- Can be used as a desktop monitor, supporting Windows 7, Windows 8, Windows 10, Windows 11 systems, with five-point touch, driver-free
- CE and RoHS certified
Product Parameters
- Screen size: 7 inches
- Physical resolution: 1024px × 600px
- Rated power: 0.62A * 5V
- Display area: 154.22mm * 85.92mm
- Outer dimensions: 164.9mm * 124.27mm
Interface Functions
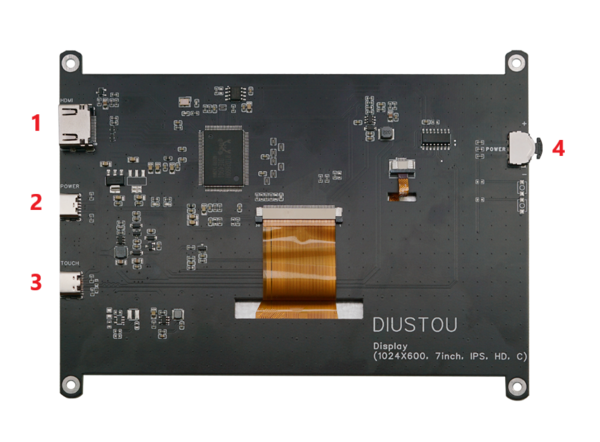
- 1.HDMI Interface: Used to connect the motherboard and LCD display for HDMI transmission.
- 2.USB Power Interface: Used to power the screen. When the screen display is unstable, both interfaces 2 and 3 can be connected simultaneously for power supply.
- 3.USB Touch Interface: Used for power supply and touch output. When the screen display is unstable, both interfaces 2 and 3 can be connected simultaneously for power supply.
- 4.Backlight Power Switch: Adjusting it up and down controls the screen backlight brightness. Lightly pressing this button controls the screen backlight on/off, saving power consumption.
Installation Methods
Raspbian System
Modifying Configuration Files
- Download the latest image from the official website.
I* nstall the system following the official tutorial steps.
- Open the config.txt file in the root directory of the Micro SD card and add the following code at the end of the file, save it, and safely eject the Micro SD card:
max_usb_current=1
hdmi_force_hotplug=1
config_hdmi_boost=7
hdmi_group=2
hdmi_mode=87
hdmi_drive=1
display_rotate=0
hdmi_cvt 1024 600 60 6 0 0 0
- Insert the Micro SD card into the Raspberry Pi, connect the HDMI cable and USB cable to the Raspberry Pi and LCD, and it will be ready for use.
Windows Desktop System
- Connect the computer's HDMI output signal to the LCD's HDMI interface using an HDMI cable.
- Connect one end of the Type-C data cable to the LCD's USB Touch interface (either of the two USB ports can be used), and the other end to the computer's USB port.
FAQ

|
Contact Diustou
Our working hours are: 09:00-18:00 (UTC+8 Monday to Saturday)
|
|
_%E7%A4%BA%E6%84%8F%E5%9B%BE.png)
_%E6%8E%A5%E5%8F%A3%E8%AF%B4%E6%98%8E.png)
